
How to Cook Tapioca Pearls Evenly at Home
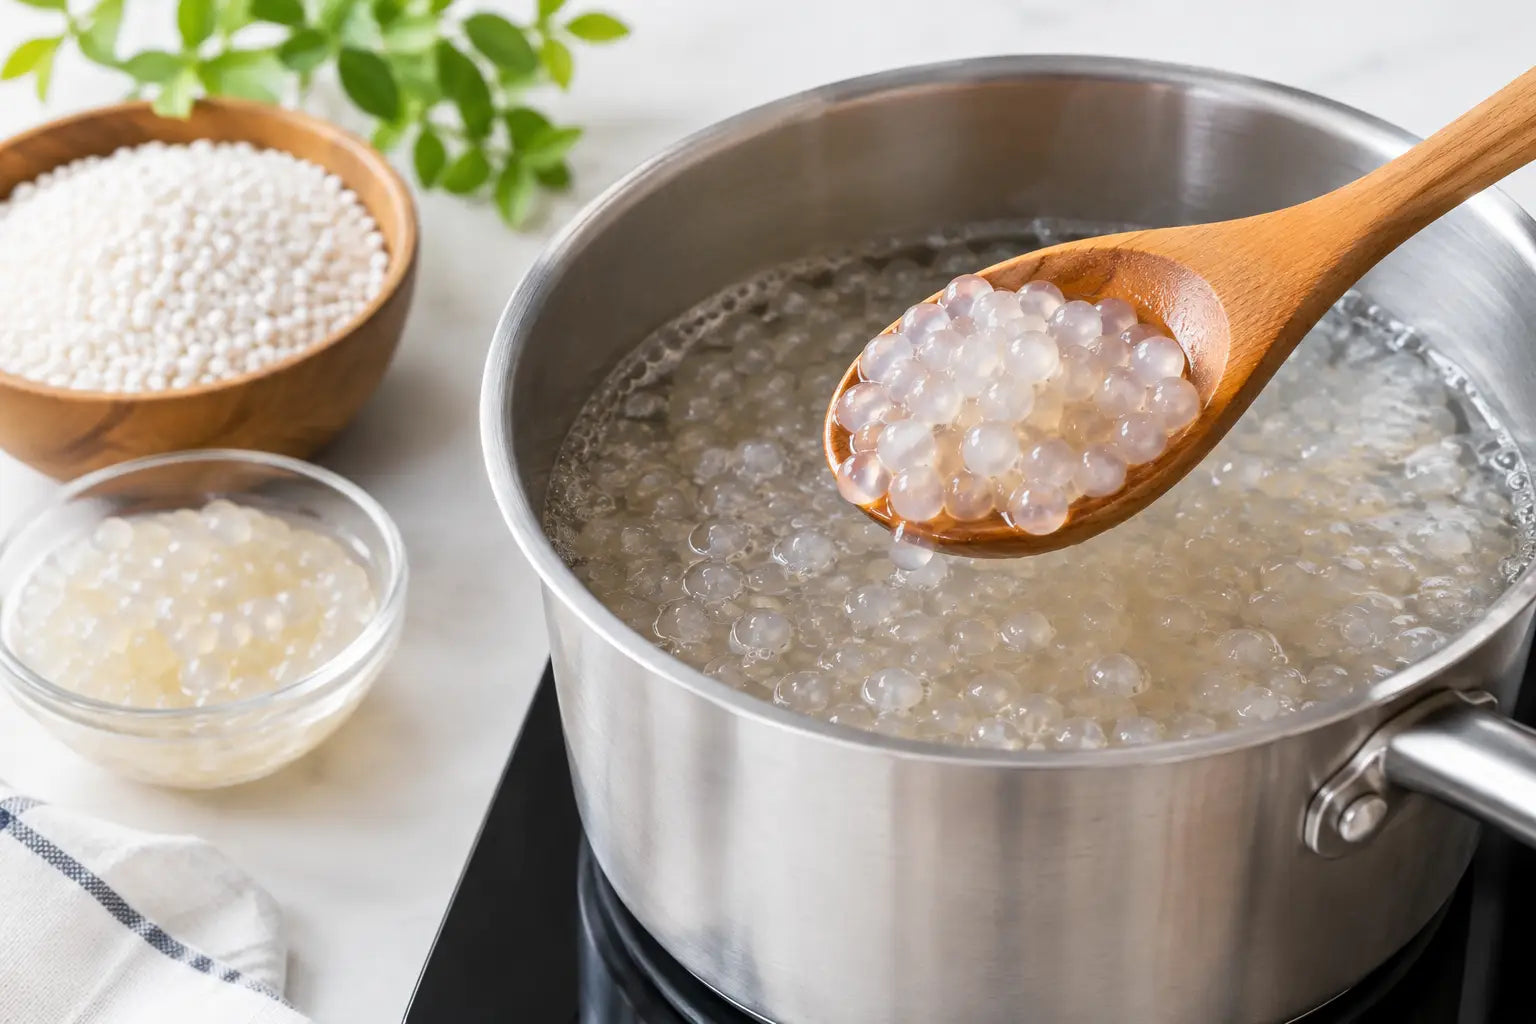
A brilliant bubble tea can be spoiled by one small thing: boba that is hard in the middle, mushy on the outside, or clumped into one giant blob at the bottom of the pan. The good news is that once you know how to cook tapioca pearls evenly, café-style chewy boba is absolutely doable in your own kitchen.
The secret is not fancy equipment. It is plenty of boiling water, gentle stirring at the right moment, and giving the pearls time to finish cooking off the heat. Think of it as a tiny bit of kitchen timing for a very big bubble tea reward.
Start with the right pan and plenty of water
Tapioca pearls need space to move. If they are crowded in a small saucepan, the water temperature drops sharply when they go in, and the pearls are more likely to stick together. A wide, medium-to-large pan is your friend here.
Use at least 10 parts water to one part dried tapioca pearls. For 100g of pearls, aim for around one litre of water. It may feel like more water than necessary, but it helps every pearl cook in the same conditions rather than sitting in a thick, starchy puddle.
Bring the water to a proper rolling boil before adding anything. Not a few lazy bubbles around the edge - a confident, lively boil. Add the pearls gradually, rather than tipping the whole bag in one heavy lump. This gives you a chance to stir them apart straight away.
How to cook tapioca pearls evenly, step by step
As soon as the pearls hit the water, stir gently but thoroughly for the first 20 to 30 seconds. This is the most important anti-clump moment. Use a silicone spoon or wooden spoon and sweep across the base of the pan, where pearls like to settle and stick.
Once the pearls float, lower the heat slightly so the water stays at a steady simmering boil. It should still be active enough to keep the pearls moving, but not so fierce that the pan threatens to boil over. Put the lid on, leaving a small gap if your pan tends to bubble up.
The packet instructions should always be your first guide because cooking times vary a lot between quick-cook pearls and larger traditional varieties. As a general rule, small quick-cook boba may need around five minutes of simmering followed by five minutes resting, while larger dried pearls can need much longer. Do not assume every black tapioca pearl cooks the same way.
Stir once or twice during the simmer, particularly if you are cooking a larger batch. You do not need to hover over the pan and stir constantly. Too much vigorous stirring can knock delicate cooked pearls about. The goal is simply to stop them settling in one place.
When the simmering time is up, turn off the heat and leave the lid on. This resting stage lets the centres finish cooking gently. It is often the difference between a pearl with a chalky core and one with that satisfying, springy chew. Keep them in the hot water for the resting time stated on the pack, then scoop out one pearl and test it.
A properly cooked pearl should look glossy and mostly translucent. It should be chewy without feeling tough, and there should be no dry-looking white dot in the middle. If the centre is still firm, give the pearls a few more minutes in the covered pan before checking again.
Do not rinse them for too long
Once cooked, drain the pearls and give them a brief rinse in cool water. This stops the cooking and washes away excess surface starch, so they are less likely to glue themselves together in your glass.
Keep this rinse short. Leaving boba under cold running water for ages cools it too much and can make the texture firmer than you want. After a quick rinse, transfer the pearls to a bowl and stir through sugar syrup, brown sugar syrup, honey, or your chosen sweetener.
The syrup does two jobs. It gives the pearls their sweet, caramel-like flavour and helps keep them separate while you prepare your tea and milk. Aim to use the boba within about four hours for the best texture. Tapioca pearls are at their loveliest fresh, warm and glossy - not stored overnight in the fridge, where they tend to go hard.
The little mistakes that create uneven boba
The most common mistake is adding pearls before the water is boiling. When they sit in merely hot water, they release starch before they begin cooking properly. That is how you end up with sticky clumps and uneven centres.
Another is using too little water. A small amount of water becomes starchy very quickly, making it difficult for the pearls to circulate. If your boba regularly sticks to the pan despite stirring, increase the water next time before changing anything else.
Timing can also trip people up. Starting a timer before the water returns to a boil may leave the pearls undercooked. For most varieties, begin timing when the water is bubbling again after you add them, unless your packet specifically says otherwise.
Finally, do not leave cooked pearls plain in a sieve while you finish the rest of the drink. They dry out and stick together surprisingly fast. Have your syrup bowl ready before you drain them. It is a small bit of preparation that makes home bubble tea feel much less fiddly.
Match the method to your pearls
Quick-cook pearls are ideal when a bubble tea craving has appeared out of nowhere and you want a drink in minutes. They are convenient, but they can turn overly soft if left in the hot water too long. Check them promptly and follow the shorter timing on the pack closely.
Traditional larger pearls reward a little more patience with a fuller, more substantial chew. They often need a longer simmer and rest, so they are a great choice when you are making several drinks for a film night, birthday treat, or family bubble tea bar.
Flavoured or coloured pearls may also have slightly different instructions. Follow the guidance for that specific product rather than adjusting purely by colour. Whether your boba is classic brown sugar, fruity, or part of a Bubble Panda at-home kit, the same foundations still apply: boiling water, enough room, a gentle stir, and a proper rest.
Getting the texture right for your drink
Your preferred texture is personal. Some people love their boba with a soft, squidgy bite; others want a firmer chew that holds up in a large iced drink. If you prefer softer pearls, use the longer end of the recommended resting time. For a firmer centre, test a minute or two earlier.
Bear in mind that ice cools the pearls quickly. If you are building an extra-cold milk tea, serve the boba soon after coating it in syrup. Add the pearls to the glass first, then pour in your tea, milk, ice and flavouring. That way every sip starts with boba at its best rather than boba that has been waiting on the side.
For a party, cook one sensible batch at a time rather than trying to make an enormous panful all at once. Small-to-medium batches cook more consistently and are easier to stir. If people are arriving in stages, a second fresh batch later on will taste better than attempting to hold cooked pearls for the whole afternoon.
If your tapioca pearls are still not cooking evenly
If pearls are soft outside but white in the middle, the heat was probably too high at the start, the water was too crowded, or the resting stage was too short. Next time, use more water and let them finish covered off the heat.
If they are mushy, your timing may simply be too long for that particular brand. Reduce the simmer or resting time by a minute, then test again. One test pearl is far better than guessing with a whole batch.
If they stick together after cooking, focus on the moment they enter the pan: add them gradually, stir immediately, rinse briefly, and coat in syrup without delay. Those four small actions solve most sticky-boba problems.
Perfect boba is not about chasing one exact number on a timer. It is about watching the water, testing a pearl, and making a tiny adjustment next time. Soon, that first chewy spoonful in your homemade bubble tea will feel like a very good reason to put the kettle on again.
